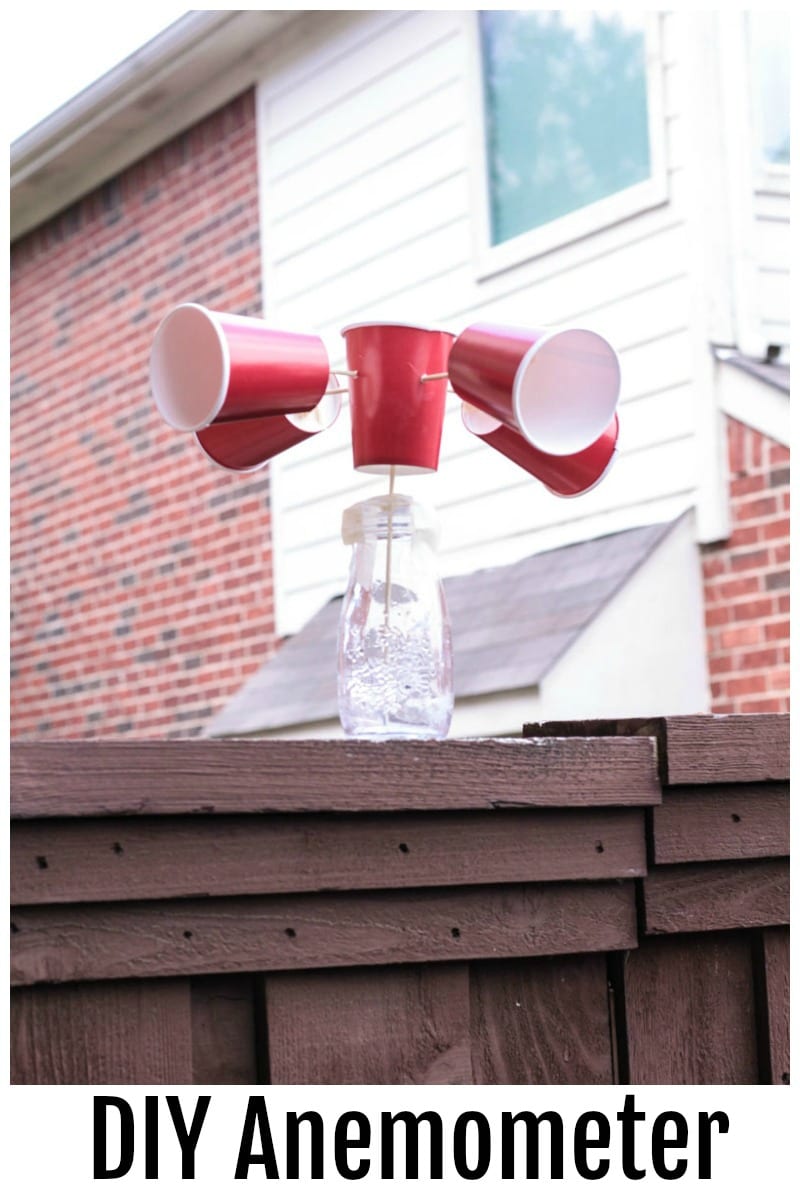
 Have you ever wanted to measure how fast the wind is blowing? You can do just that when you make your own anemometer. The easiest anemometer to make at home is called a Robinson anemometer. The device catches the wind inside cups, and then starts to spend, when you calibrate the anemometer, you can then determine how fast the wind is blowing.
An anemometer is a device that is used to measure wind speed. There are many different types of anemometers suited for different environments, situations, and measurements. A cup anemometer is a basic type of measuring device, while newer, more accurate anemometers can make use of lasers and ultrasonic measuring technology.
A cup anemometer is commonly called a Robinson anemometer. It uses cup-like shapes to catch the wind, causing the device to spin. How many times it spins in a given time interval can tell you how fast the wind is moving. In this experiment, we’ll learn how to make an anemometer and calibrate it.
DIY Anemometer
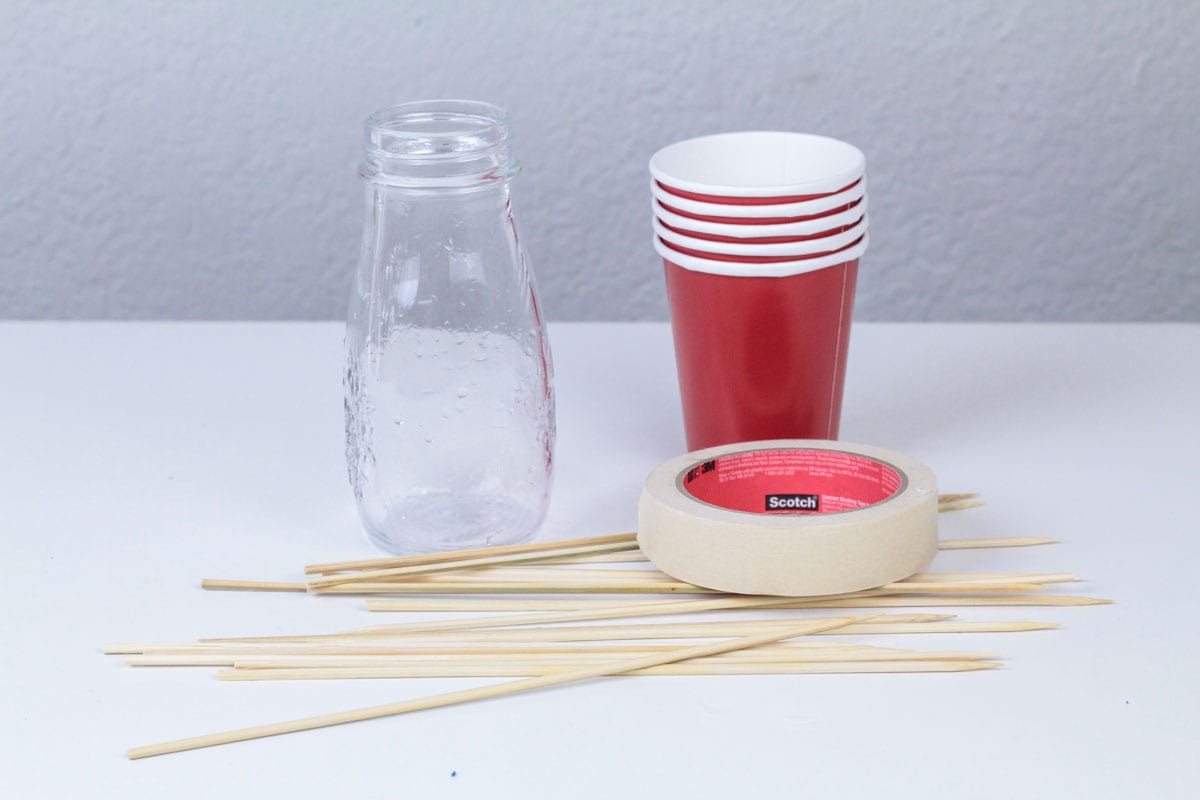
Supplies
- 5 paper cups
- Small bottle
- Tape
- Bamboo skewers

Directions:
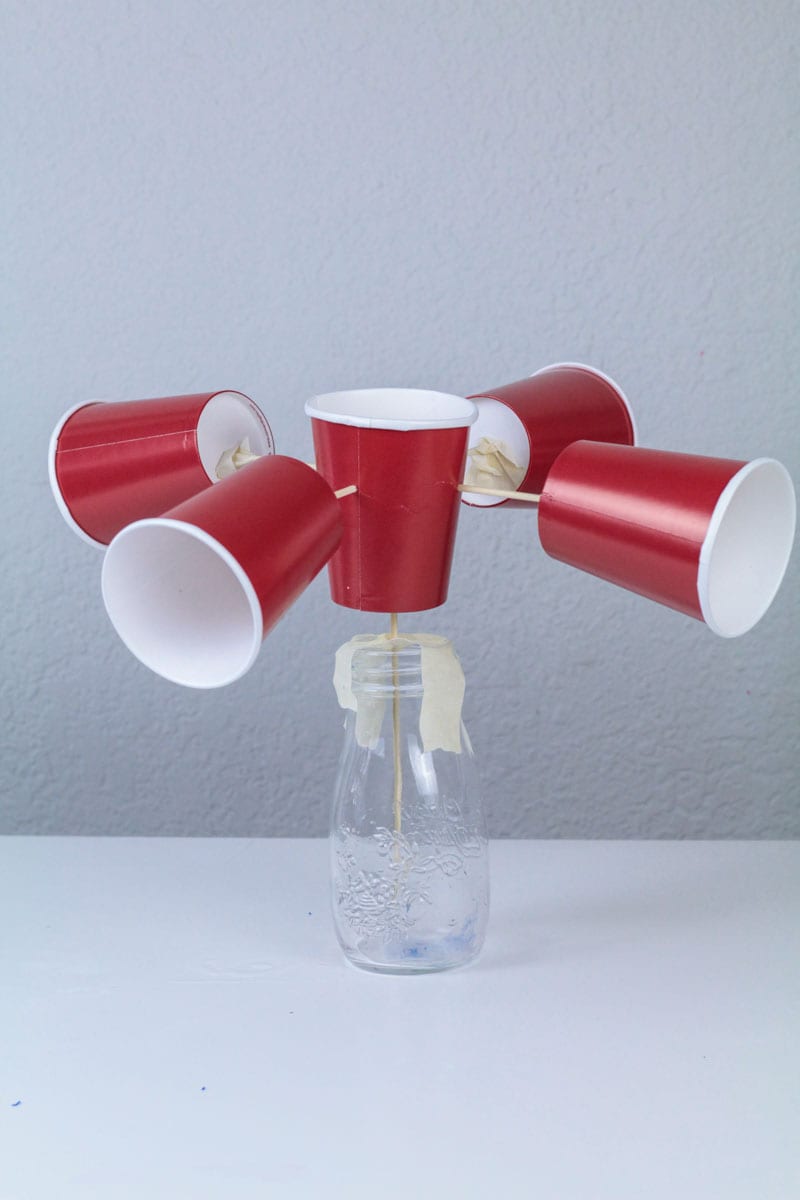
- Stick a cup on the end of a bamboo skewer facing up. Tape in place.
Stick two more skewers through the same cup making a cross shape inside the first cup.
Stick a cup on each open end of the skewers with the top facing out. - Tape all the cups in place, then stick the assembly inside a bottle.
- You may need to add a bit of tape to stabilize the assembly inside the bottle.
- Calibrating Your Anemometer
Hold the anemometer outside a car window while the car is driving 5, 10, 20, and 30 miles an hour. Count how many rotations it completes in 30 seconds at each speed. This will let you determine the rotations for each mile per hour. - Set the anemometer up in a high location in your yard (like the top of a fence or your roof). You can then use your chart to determine how fast the wind is blowing on any given day using the data collected during the car drive.

Leave a Reply