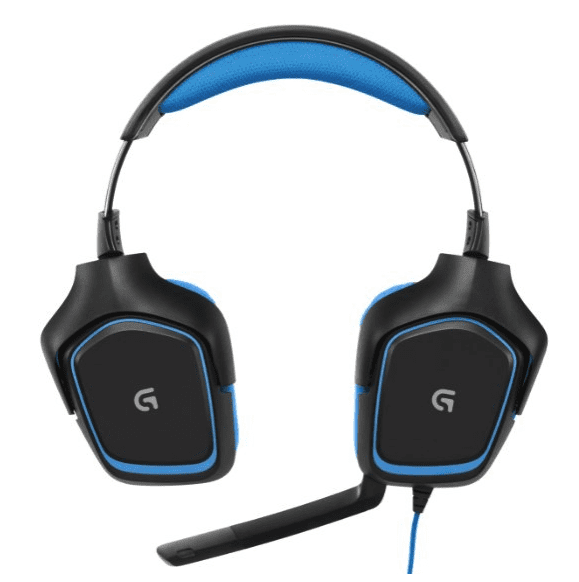
If you are looking for a new headset for your kiddo for using on Teamspeak, during live classes, or just for listening to music I HIGHLY recommend these! My guys and gal use this exact brand and model and love it. The sound is nice and clear PLUS it works great for our live classes. I noticed that these Logitech 981-000536 G430 7.1 Gaming Headsets with Mic are only $34.99 right now! That’s a really great price for these and they are great! You can get it HERE.
2018 IEW Writing and Grammar Class Survey

We are in process of planning next year’s classes and would LOVE and appreciate your input. If you would please fill out the following survey it would really be helpful. ![]()
NOTE: While this survey is targeted to help decide which IEW writing classes we will offer, we DO want to hear your feedback on other subjects as well. There is a place at the end of the survey to enter any other suggestions you may have.
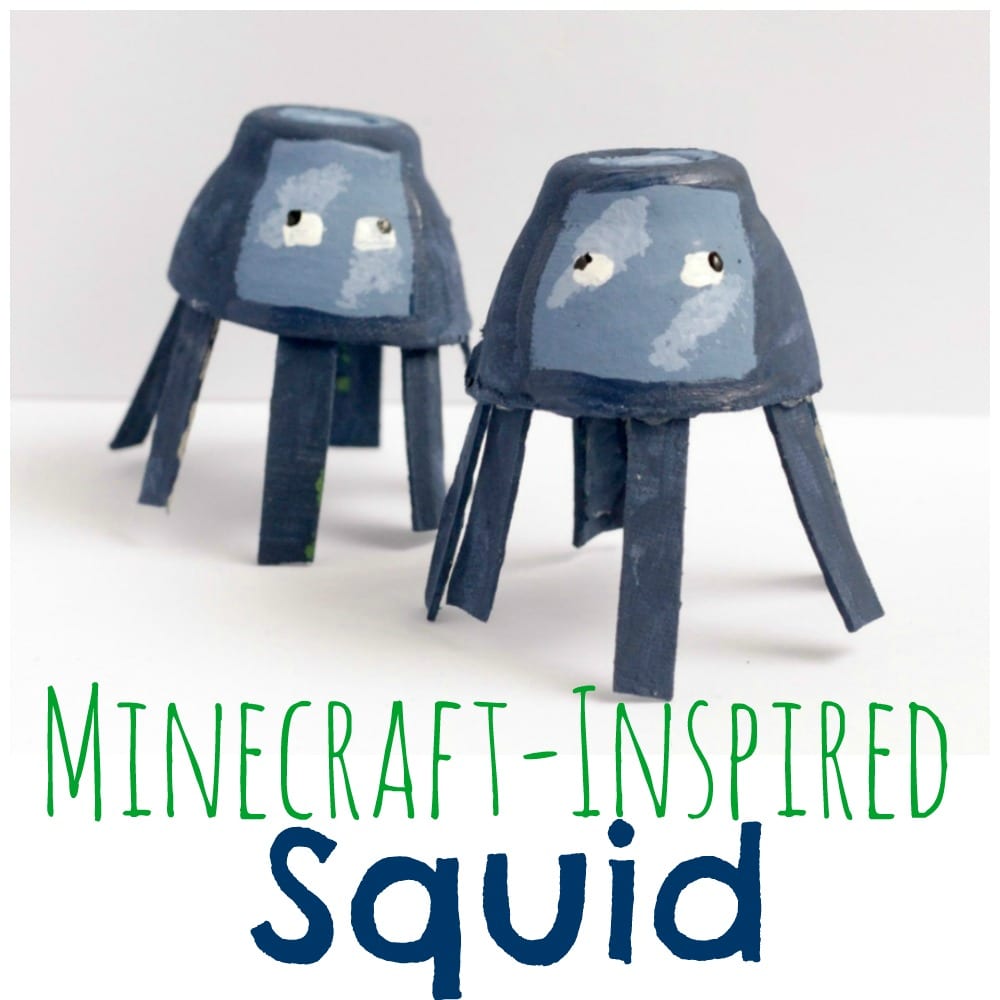
Minecraft-Inspired Egg Carton Squids
Minecraft-Inspired Egg Carton Squids
My kids are obsessed with Minecraft. They not only play the game every spare moment they can get, but they also try to collect as many Minecraft-themed toys, games, cards, and anything else they can find. If you haven’t noticed, Minecraft merchandise can be expensive. But you don’t have to buy everything when you can make some of it! We had a blast making these Minecraft-inspired squids from recycled egg cartons.
Minecraft-Inspired Egg Carton Squids
- Make these squids with your Minecraft-loving kids!
- What you’ll need to make the Minecraft Squids:
- Egg cartons
- Navy, white, and black acrylic paints
- Hot glue gun and glue sticks
- Scissors
- Paintbrushes
Each egg carton cup will become the body of one squid. We know that true Minecraft squids are square, but with the right paint job, your squids will look a little more squarish. Cut out the cups and trim any excess carton. We found that the outside edge cups had more cup to work with and looked the most squid-like.
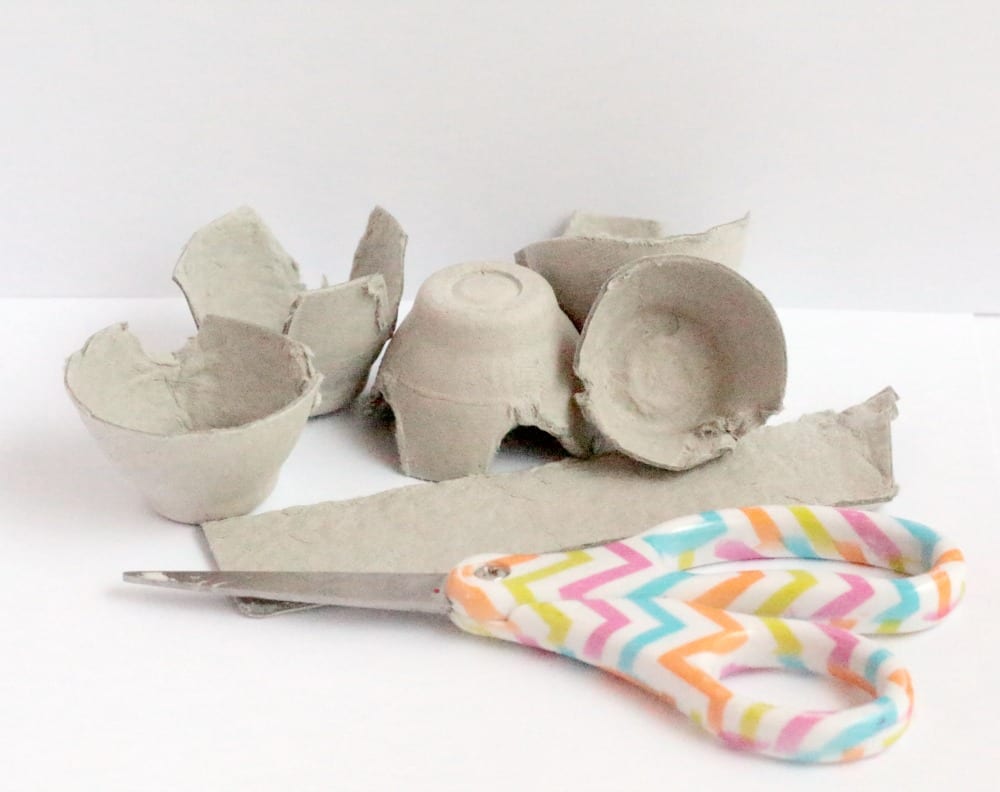
Cut six legs for each squid from the top of the egg carton.
Glue three legs to the front of the squid and three legs to the back.
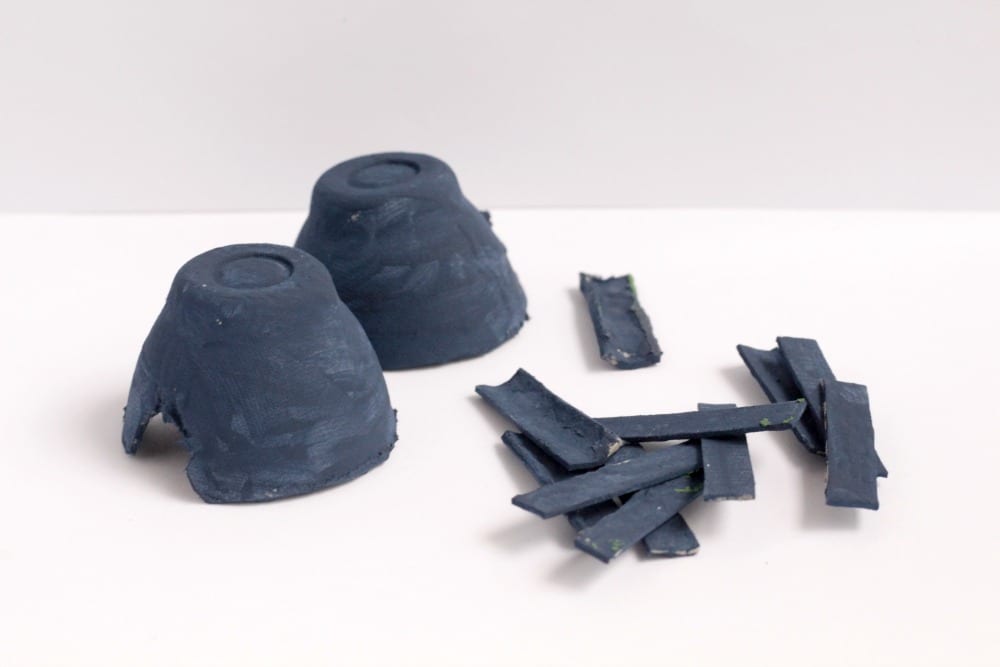
When the glue is dry, paint the entire squid, legs and all, navy.
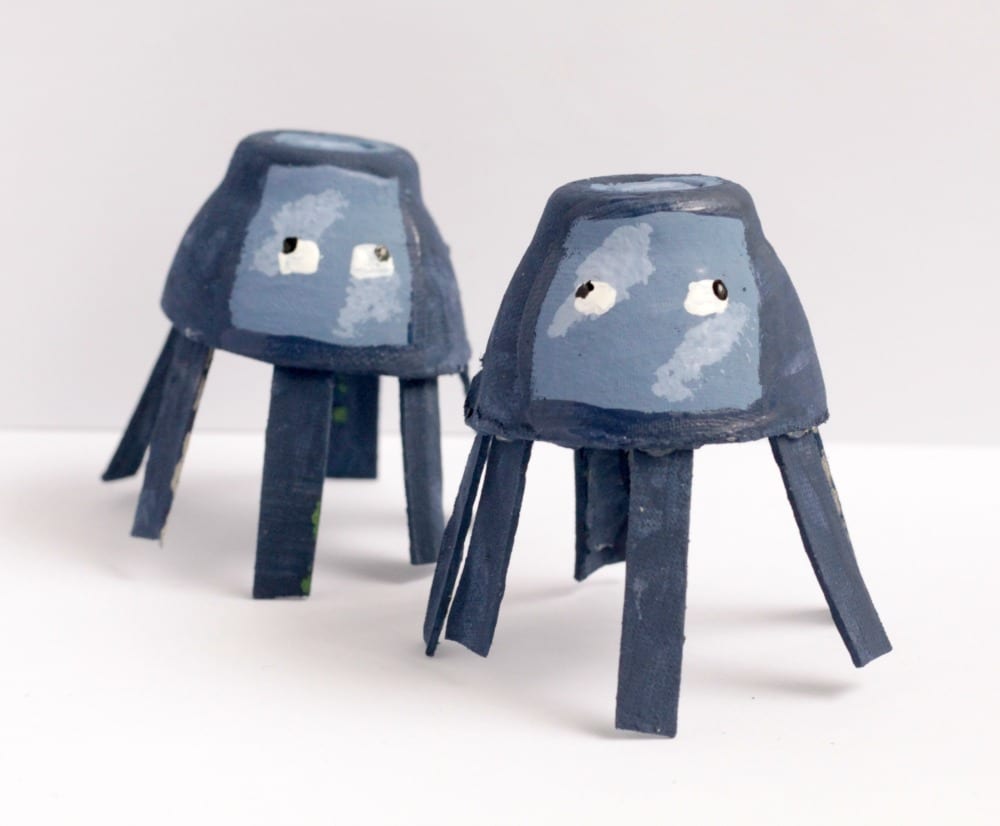
When the paint dries, mix a small amount of navy and white paint together to make a slightly lighter navy. Paint a square on the front of the egg carton squid. This will become its face. Paint another small square of the lighter blue on the top of the egg carton.
Add a couple of extra drops of white paint to your lighter blue. Paint little lighter squares in the top left corner and bottom right corner of each of your darker squares.
Paint two white squares in the center of your squid’s face to make eyes. Paint one tiny corner of that square black to give your squid some pupils.
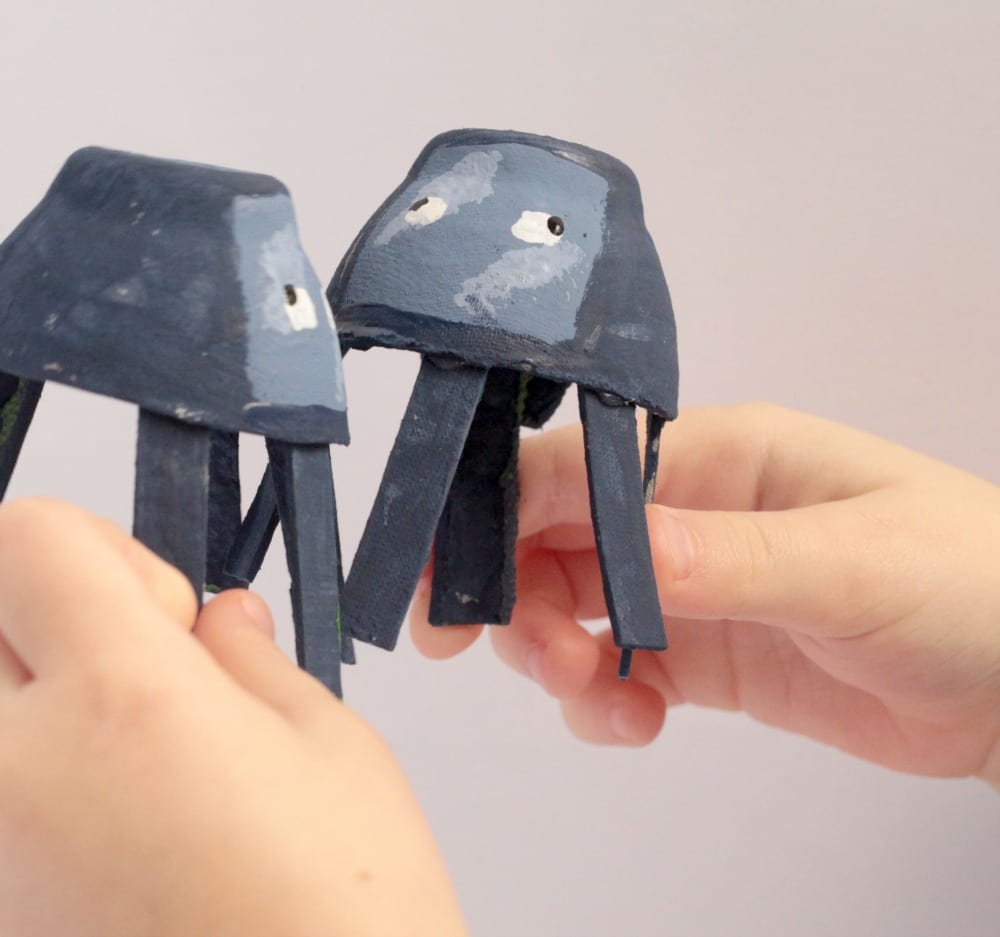
Wait for the paint to dry and display your new egg carton Minecraft squids with pride!
Minecraft-Inspired Melty Bead Tools
Minecraft-Inspired Melty Bead Tools
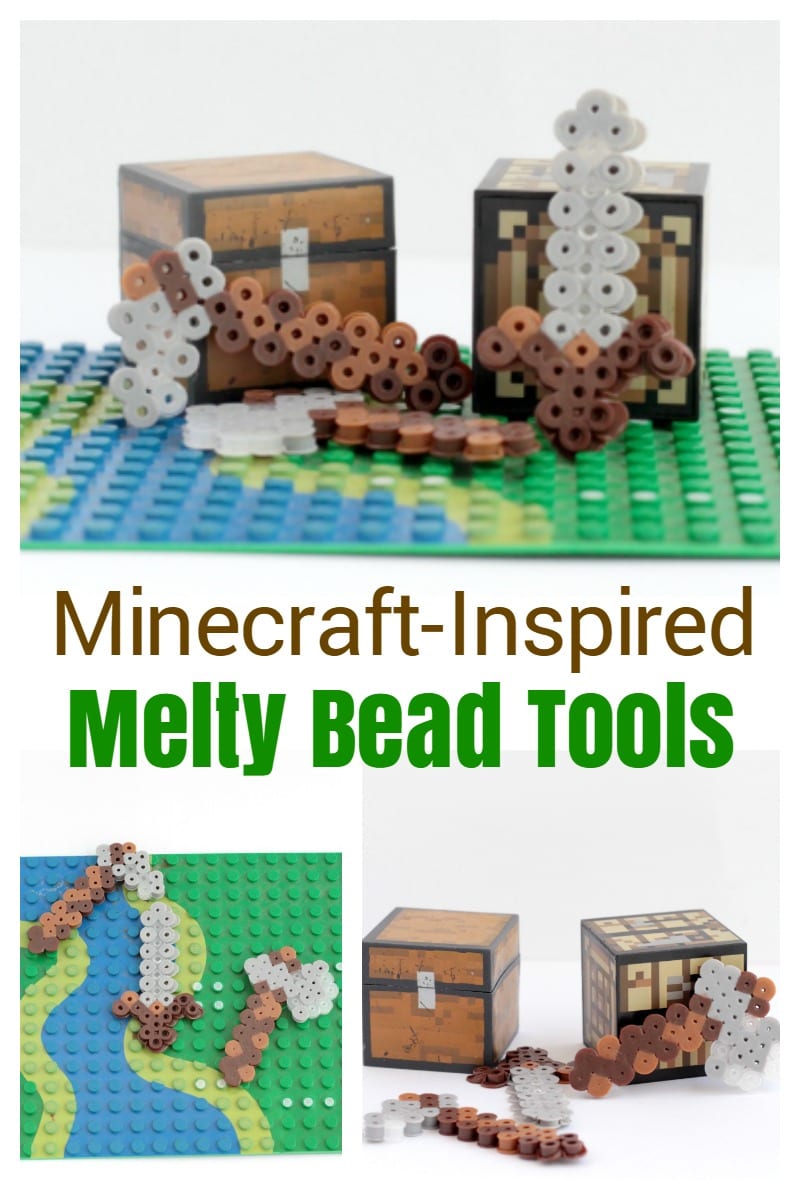
If your kids love Minecraft as much as mine do, then they will go nuts for these adorable Minecraft-inspired melty bead tools. There are so many things you can do with the tools once they are completed. Play with them, use them for Barbies, tie a string through one of the holes and make jewelry, or hang them from a key chain or in the window as a decoration! You could even make a Minecraft mobile!
Minecraft-Inspired Melty Bead Tools
Make these melty bead tools with your Minecraft-loving kids!
What you’ll need to make the Minecraft melty bead tools:
- Melty beads
- Square bead mold (other shapes won’t work as well)
- Iron
- Ironing board
Depending on what color of beads you have, you can make wood tools, stone or iron tools (which look basically the same), or diamond tools. We had a lot of brown and grey beads, so we decided to make iron tools. For color variation in the iron, we used clear beads. We used two different colors of brown to make the handles look more authentic.
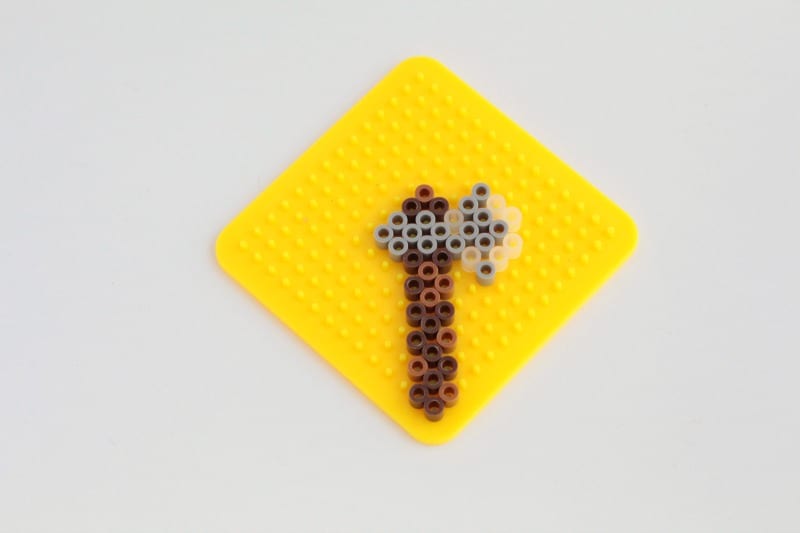
Use pictures of real Minecraft tools as a guide for your designs. We ended up making an axe, a hoe, and a sword.
Start every design in one corner of your square. Each bead tray is slightly different, so the instructions aren’t exact, but we found it easiest if we started our designs with the handle and in the corner.
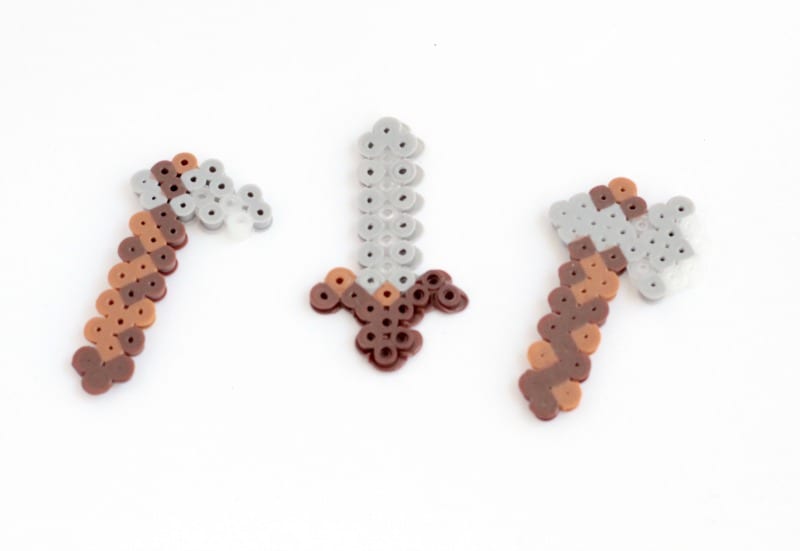
Each of our tools was about six beads high before we added the tool to the handle. All designs are about three beads wide.
Stagger the colors and placement of the beads to make them look more authentic.

Use this picture as a guide when creating your melty bead tools. Your designs probably won’t be exactly the same as ours, but that’s totally fine! We found that we couldn’t make our designs exactly the same as the original Minecraft tools due to restrictions with how our bead board was set up.
After creating your designs, place wax paper over the design and carefully take it to an ironing board. Iron the beads on low heat for about 30 seconds.
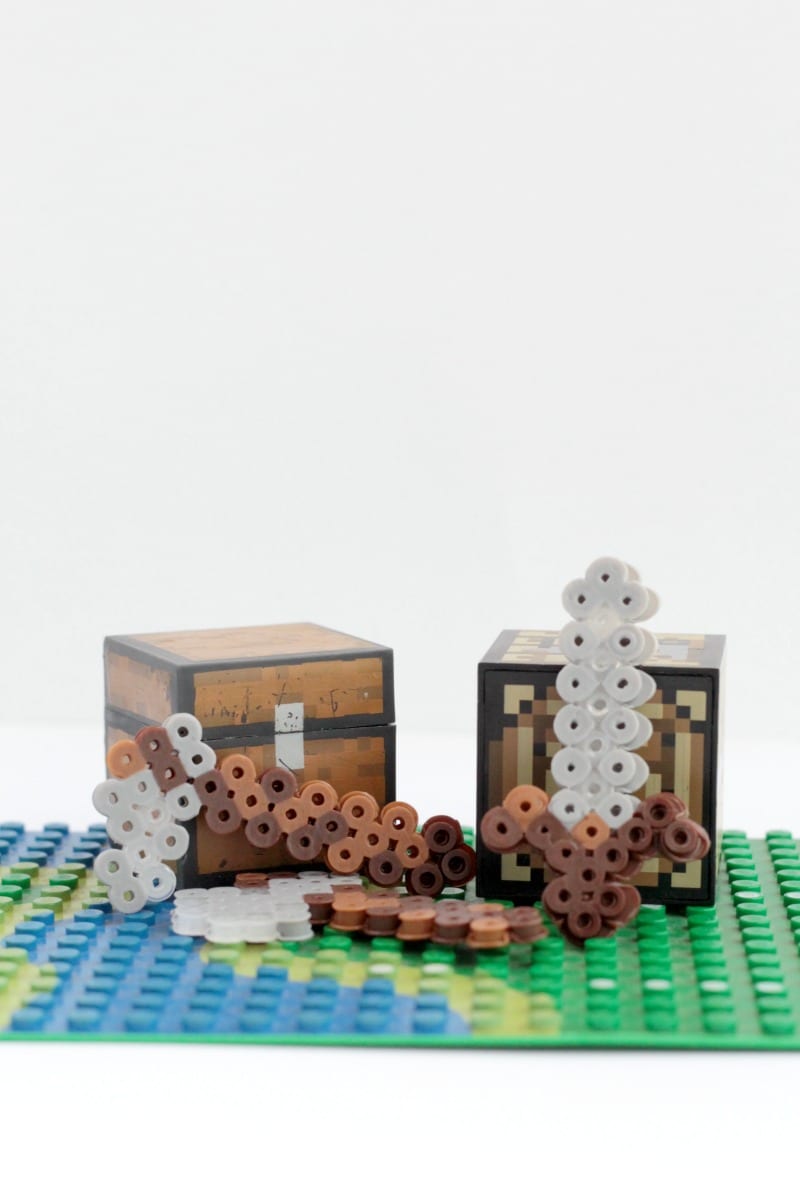
Let cool, flip, place the wax paper over the design and iron the back side for an additional 30 seconds.

Add a string and these tools make adorable necklaces or bracelets!
Minecraft-Inspired Cardboard Pickaxe
Minecraft-Inspired Cardboard Pickaxe
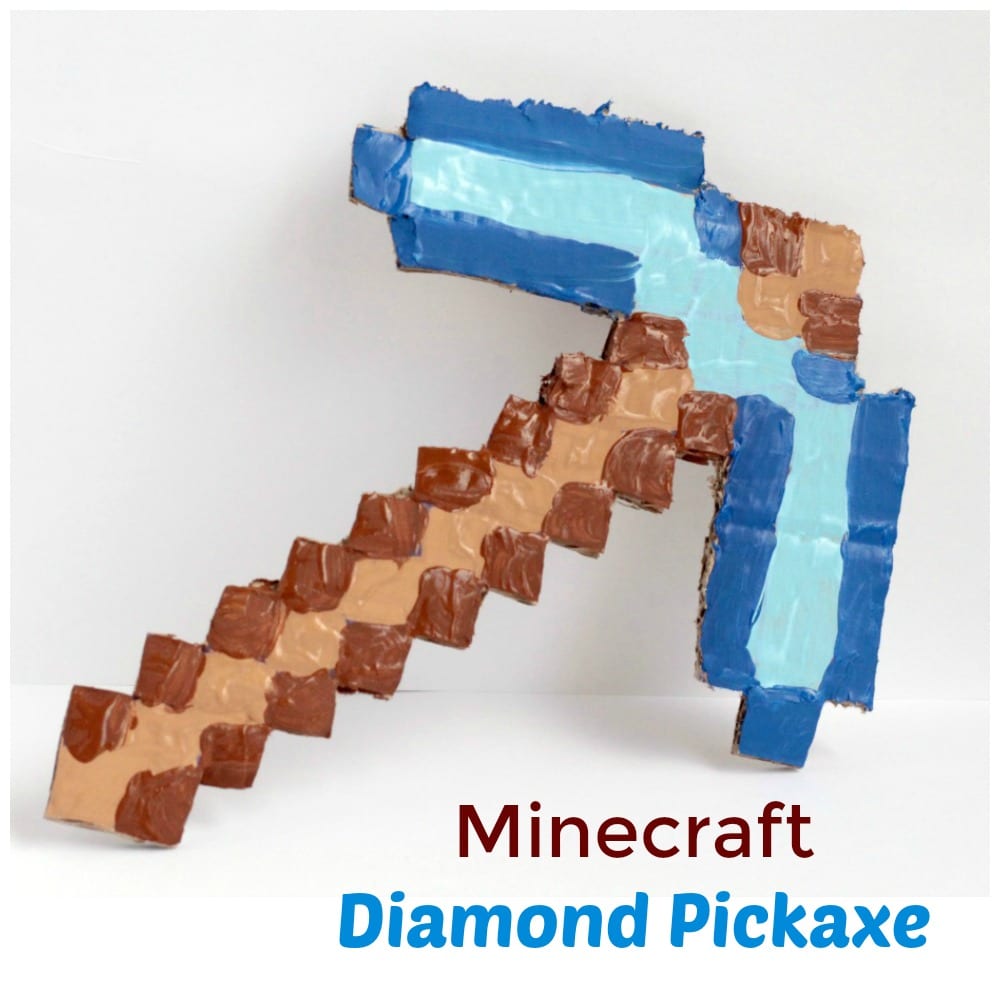
Minecraft is HUGE at our house, but I don’t feel right letting my kids play Minecraft all day every day. I like for them to have hands-on play as well. But, the appeal of video games is strong. So, to entice them to get off the game and play outdoors, I made my kids these cardboard Minecraft tools. The Minecraft cardboard pickaxe is the first tool we made and my kids had a blast playing with it!
At first, it seemed like this was going to be a challenge to make, but in the end, it was pretty easy!
Minecraft-Inspired Cardboard Pickaxe
The pickaxe is a staple of the Minecraft world. Bring the Minecraft universe to life when you make this simple cardboard version. The smaller size makes it perfect for little hands and it might just become your children’s favorite toy!
What you’ll need to make the Minecraft cardboard pickaxe:
- Cardboard box
- x-acto knife or other craft knife
- Minecraft pickaxe template
- Acrylic paint
- Marker
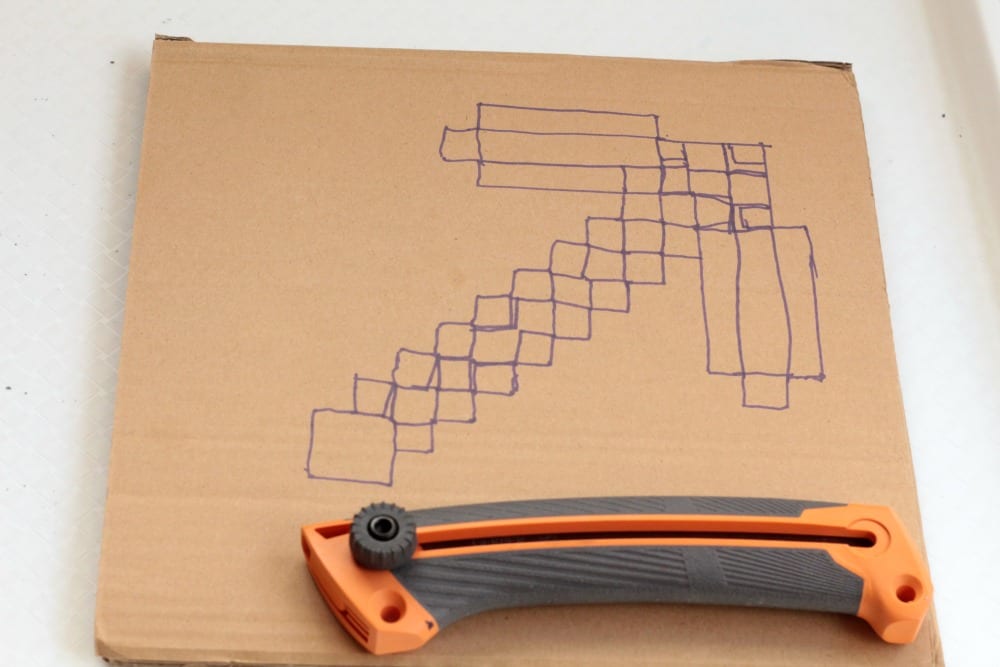
First, you will need to print a template for your cardboard axe. I just found a png file of the diamond pickaxe and printed it onto a single sheet of computer paper. Cut out your design, and trace it onto your cardboard.
Fill in the rest of the outline with a marker. This will help you paint it later.
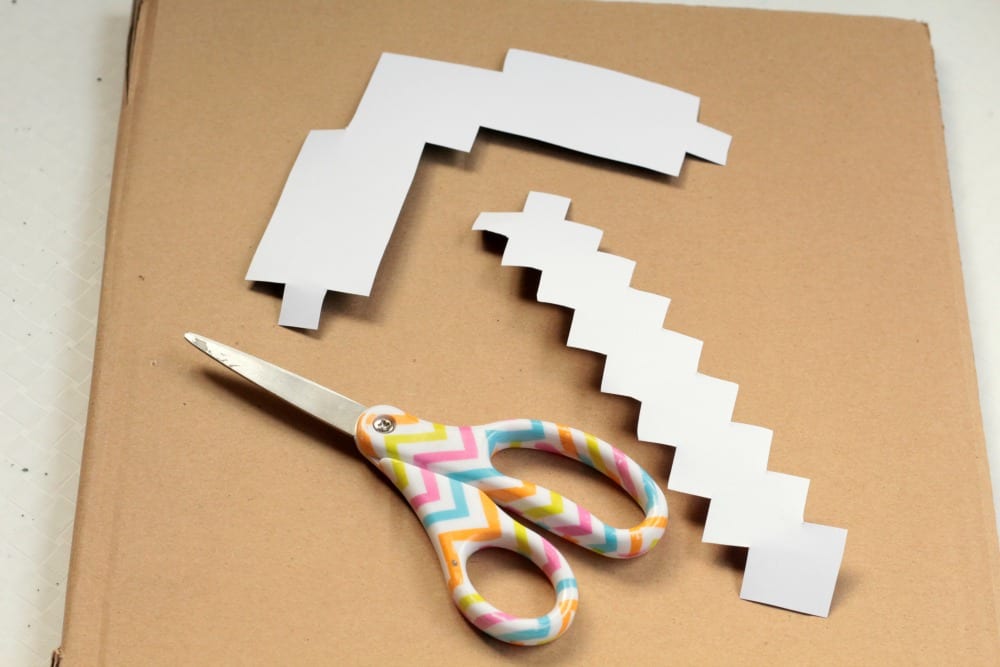
Cut out the cardboard shape using your craft knife. This is the longest step, but we had ours cut out in less than 10 minutes.
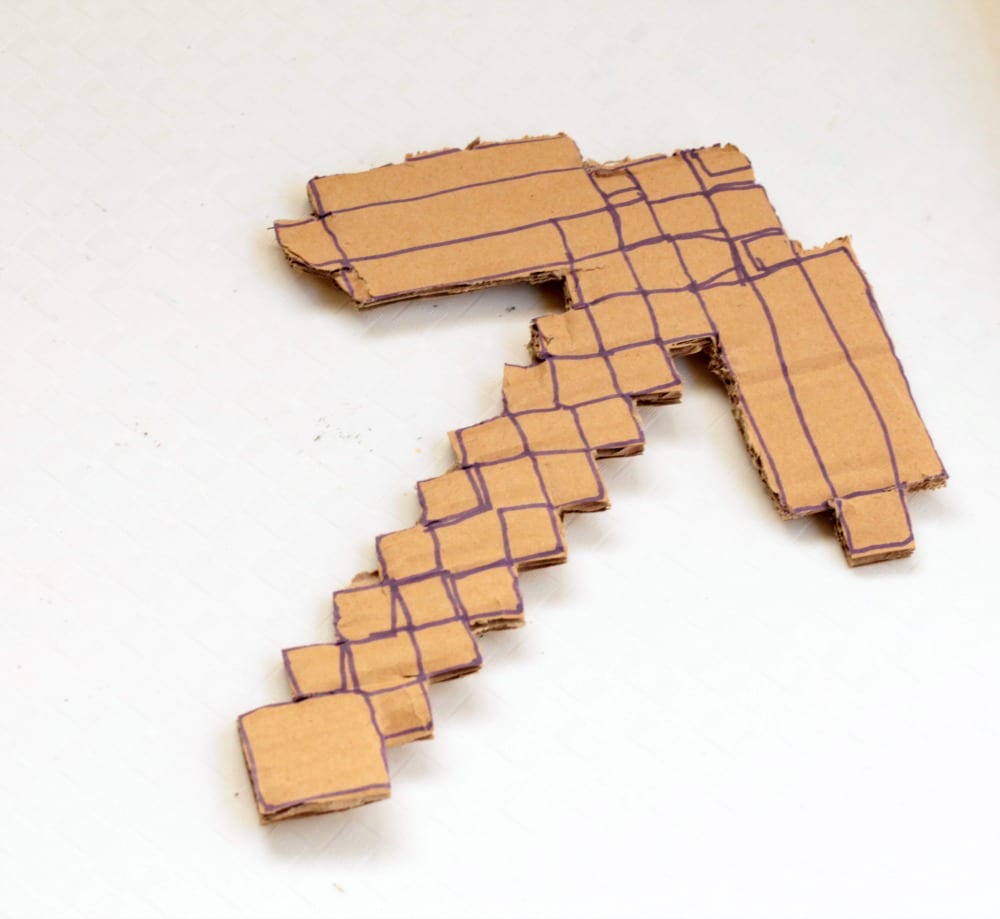
Paint your axe according to the template you printed. You don’t have to make a diamond pickaxe, you can also make a wood, iron, or stone pickaxe depending on which version your kids love the most.
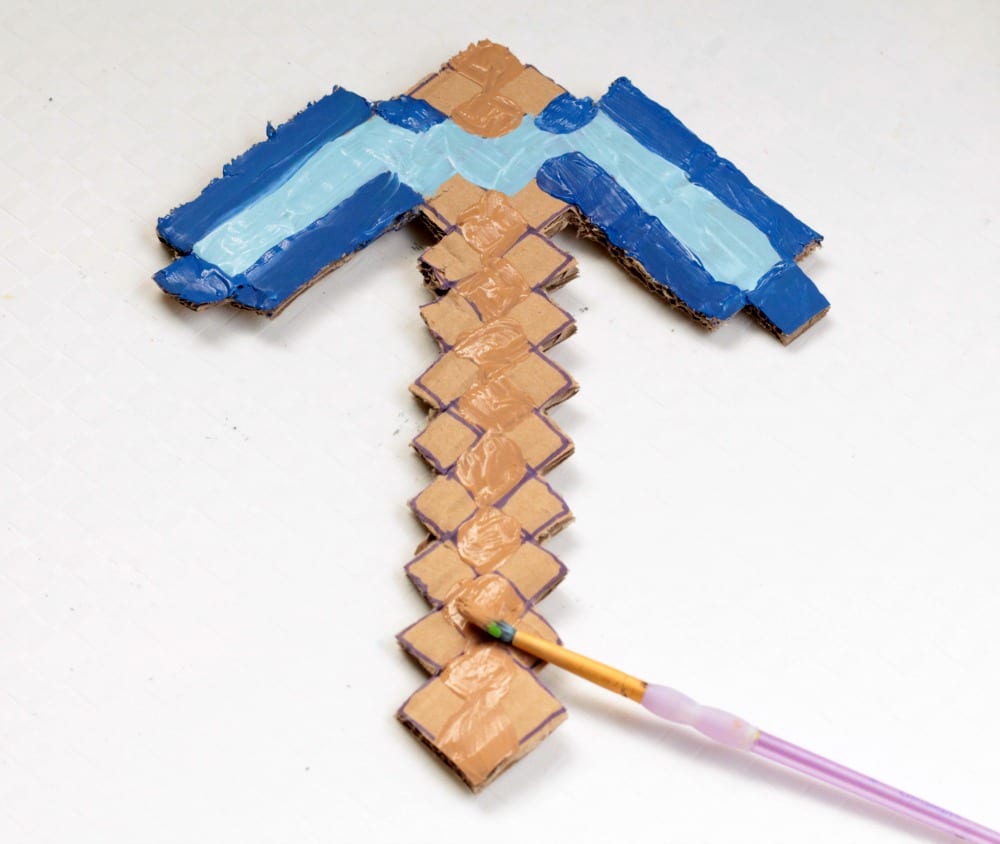
Let the pickaxe dry fully, then paint the second side.
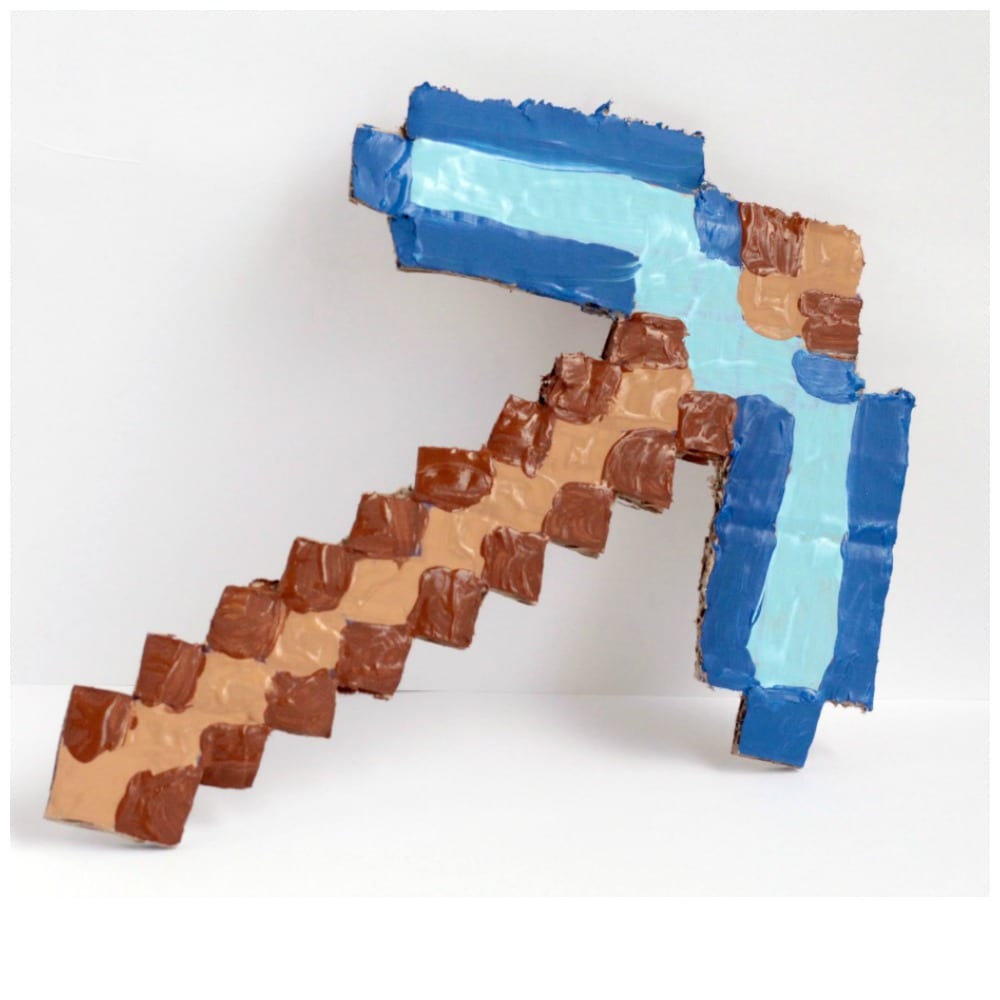
Once the paint is fully dry, give the pickaxe to your kids and let them play Minecraft in real life!
Minecraft-Inspired Playdough Blocks
Minecraft-Inspired Playdough Blocks
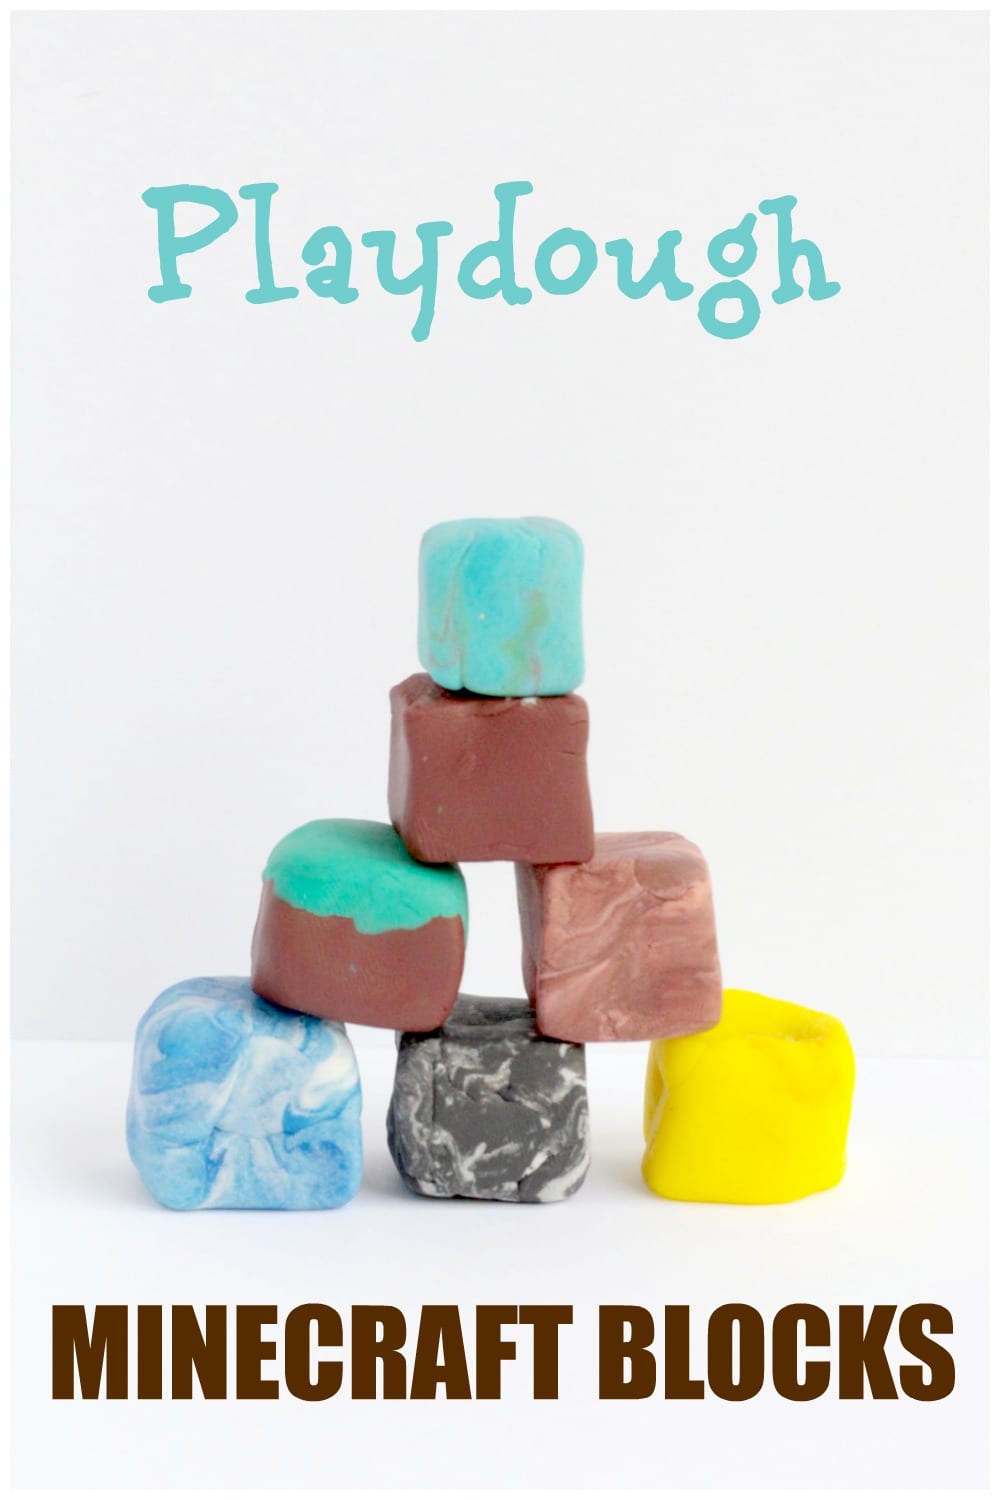
If you have Minecraft lovers in your house, they are probably on the X-box or computer more than you would like. But, you can entice your little Minecraft-lovers away from the game by showing them how they can create their very own Minecraft blocks from playdough! These little blocks are so easy to make, and the possibilities of color mixing are endless! Your kids will have a blast creating their very own Minecraft block village, farms, and mines using the blocks they make from playdough.
Minecraft-Inspired Playdough Blocks
There is so much you can do with these adorable Minecraft playdough blocks! Each regular-sized tub of playdough can make about 20-30 blocks, depending on how large or small you make them, which means that you can build an entire Minecraft playdough village with just a few cans of playdough.
For another twist, make the blocks out of polymer clay and make your blocks permanent for play you can return to over and over.
What you’ll need to make the Minecraft playdough blocks:
- Playdough in various colors
- Picture of Minecraft blocks
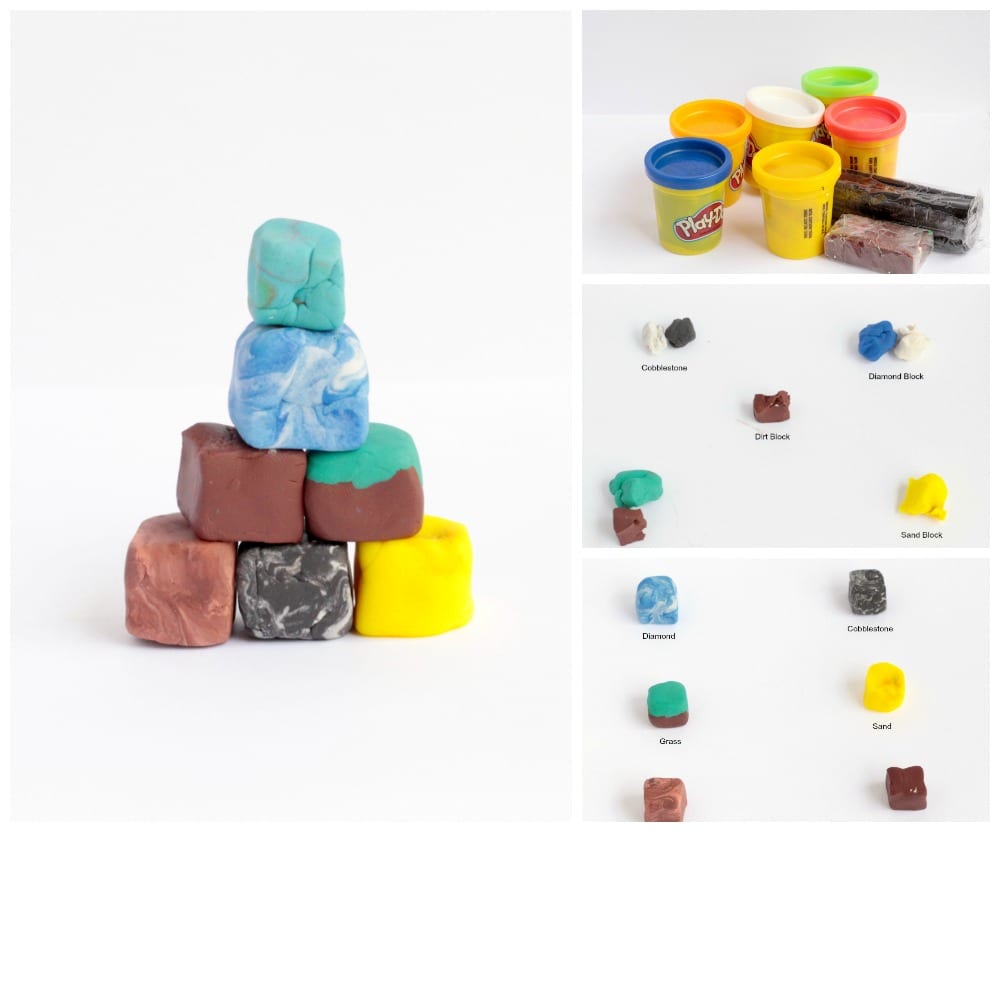
We decided to make the essential Minecraft blocks. We sort of used the Minecraft table of elements as as guide for our blocks. None of our blocks were exactly like the real thing, but they were close enough for any Minecraft-lover to identify the block type.
For our blocks we made:
- Sand
- Grass
- Cobblestone
- Dirt
- Diamond
- Water
- Jungle wood
If a block has a speckled appearance, we used two colors to make it. So the jungle wood was a mix of dark and light brown. The diamond block was a mix of white and blue. Use this chart as a reference when making your blocks.
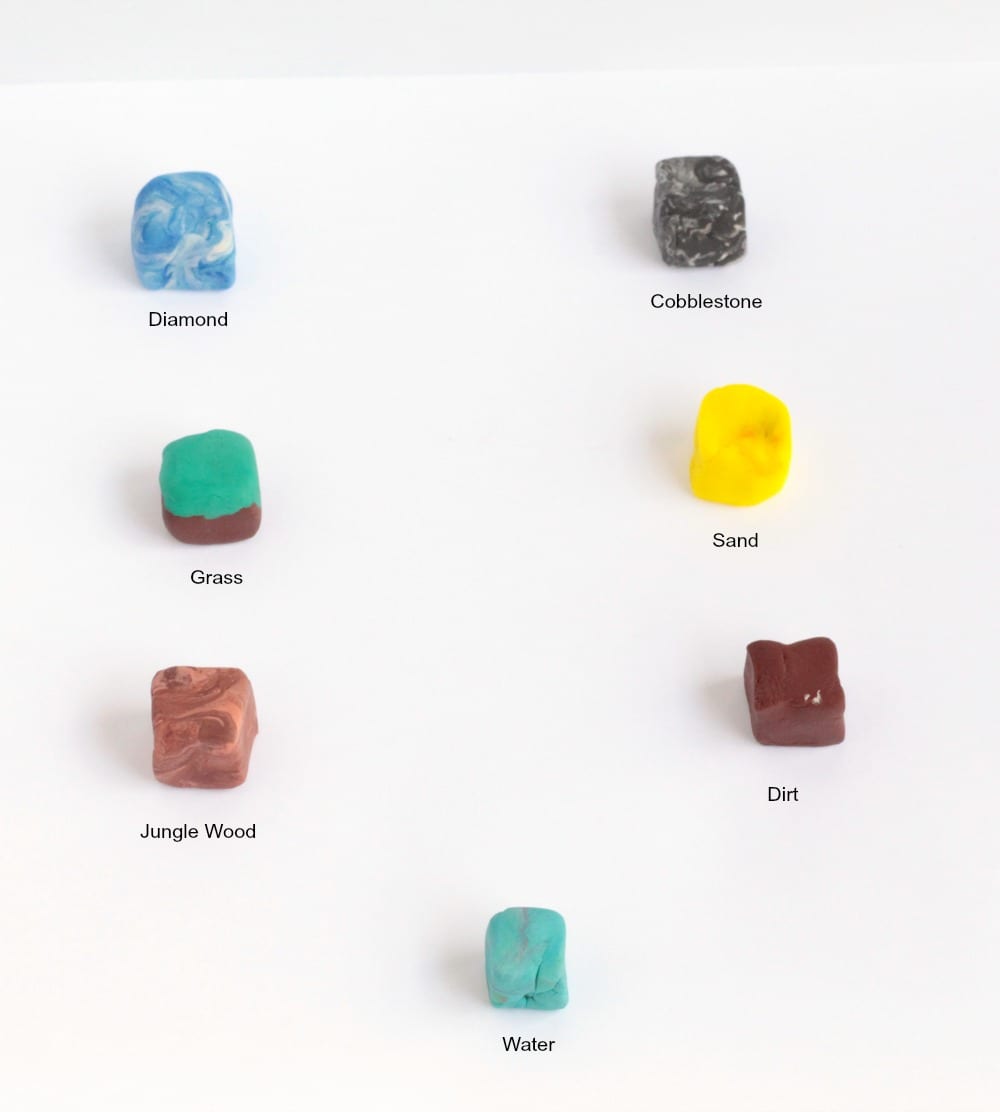
Here are all the blocks we made in their full glory!
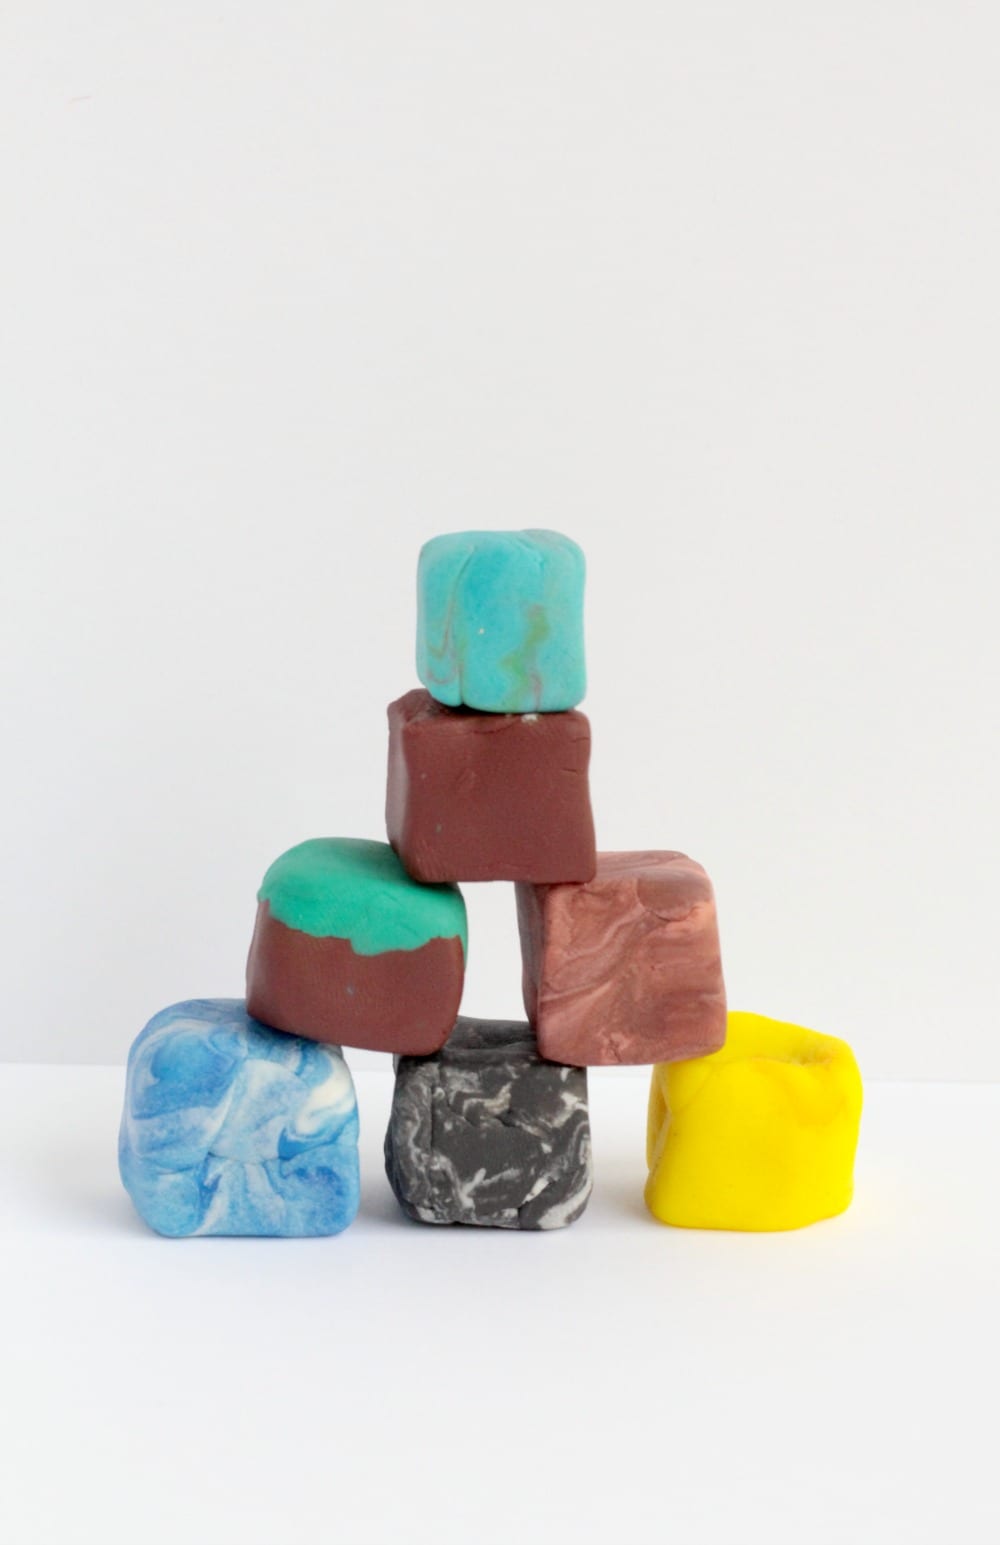
It was such a blast to make these super-fun Minecraft playdough blocks. My kids spent most of an afternoon creating their blocks and then building with them. Even my preschooler was able to make her own version of the blocks. The water block was completely her design.
